
Sorting the Case List
Cases can be organized on the case list by creating a sort order. By default, the cases in the case list are organized by the order that they are added or imported into PHDwin. However, custom sort orders can be create to organize the cases by other criteria as desired. For example, it is possible to sort cases alphabetically or by an ID code. Users also have the ability to group the cases such that all the cases in the same field or same reserve class are together.
Sort orders can be useful because:
•it makes it easier to find a case to view or edit
•users can group cases together by common criteria (for example, all cases are grouped by reservoir) :
othis is very helpful for selecting cases for global edits, grid edits or running reports.
•the reports will be printed in the same order that the cases are sorted:
othis allows users to control the organization of reports.
othis is also useful to create summary & subtotal reports (such as a summary report for each field and subtotals by reserve class and category).
To create, edit or change sort orders, go to the Home Ribbon on the Case List Section.

How to add a new sort order
1.Go to the Home Ribbon on the Case List Section. 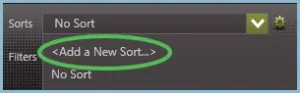
2.Click on the drop-down menu next to Sorts and choose Add a New Sort .
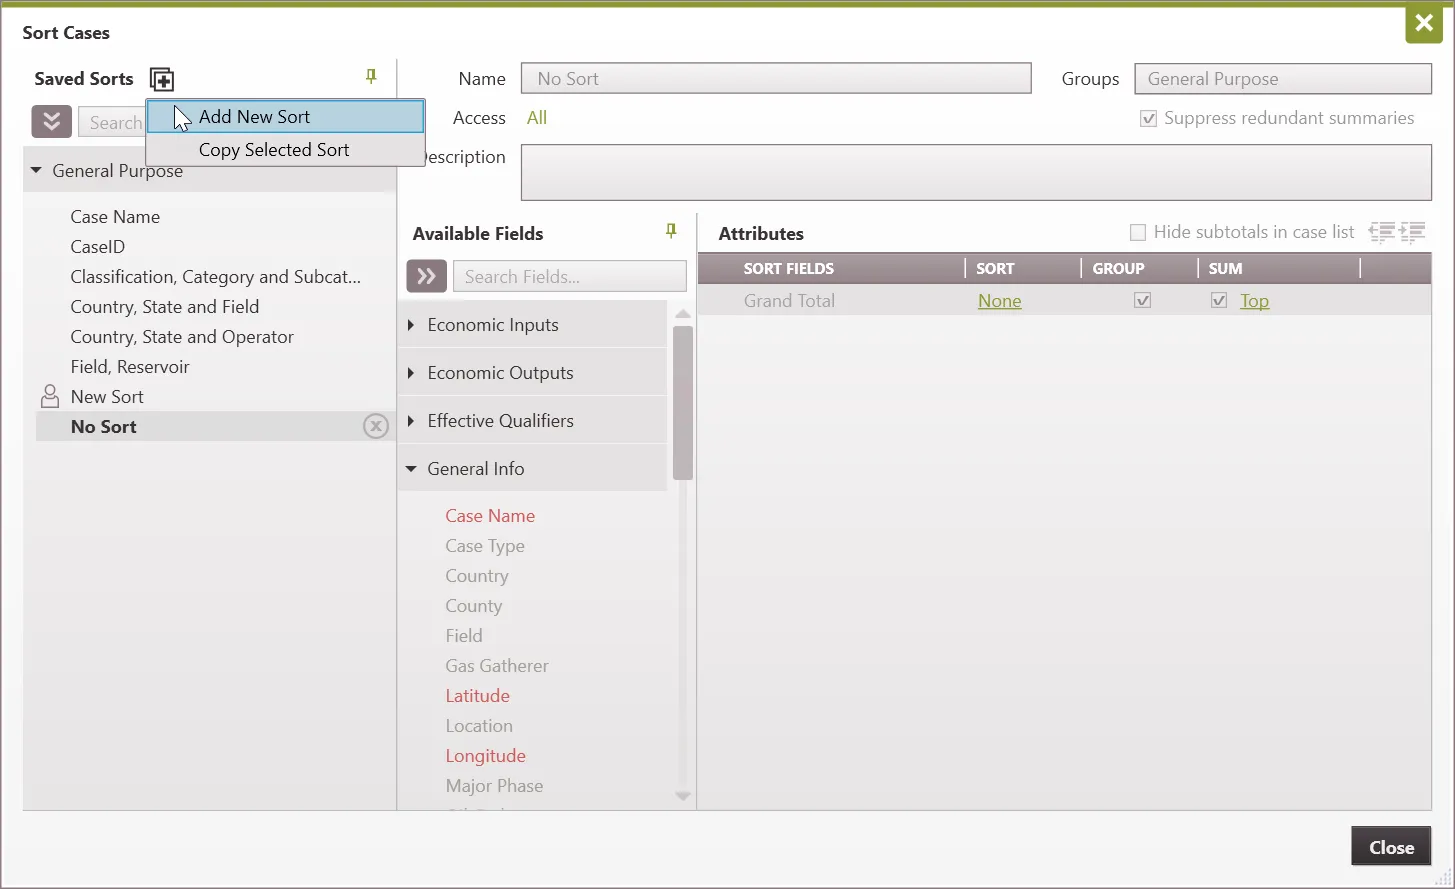
3.This opens the Sort Cases window used to build the sort order. Fill out the information on the top right including:
•Sort Name – which should describe what you’re sorting by.
•Groups – the grouping the sort name will be categorized under on the left-hand side showing Saved Sorts. Available groups are: Display, Economics, General Purpose, and Reports.
•Access – choose whether this sort will be public for everyone to use but only you can edit, private for just you to see, or ‘all’ which means usable & editable by anyone.
•Suppress redundant summaries – check this box if you don’t want to print summary reports for groups that only contain one case or when the same set of cases is present inside multiple sort field groups. This feature is included, because the summary report and individual or redundant sort group’s report would be the exact same.
•Description – this is where a user provides more details about the sort order being created.
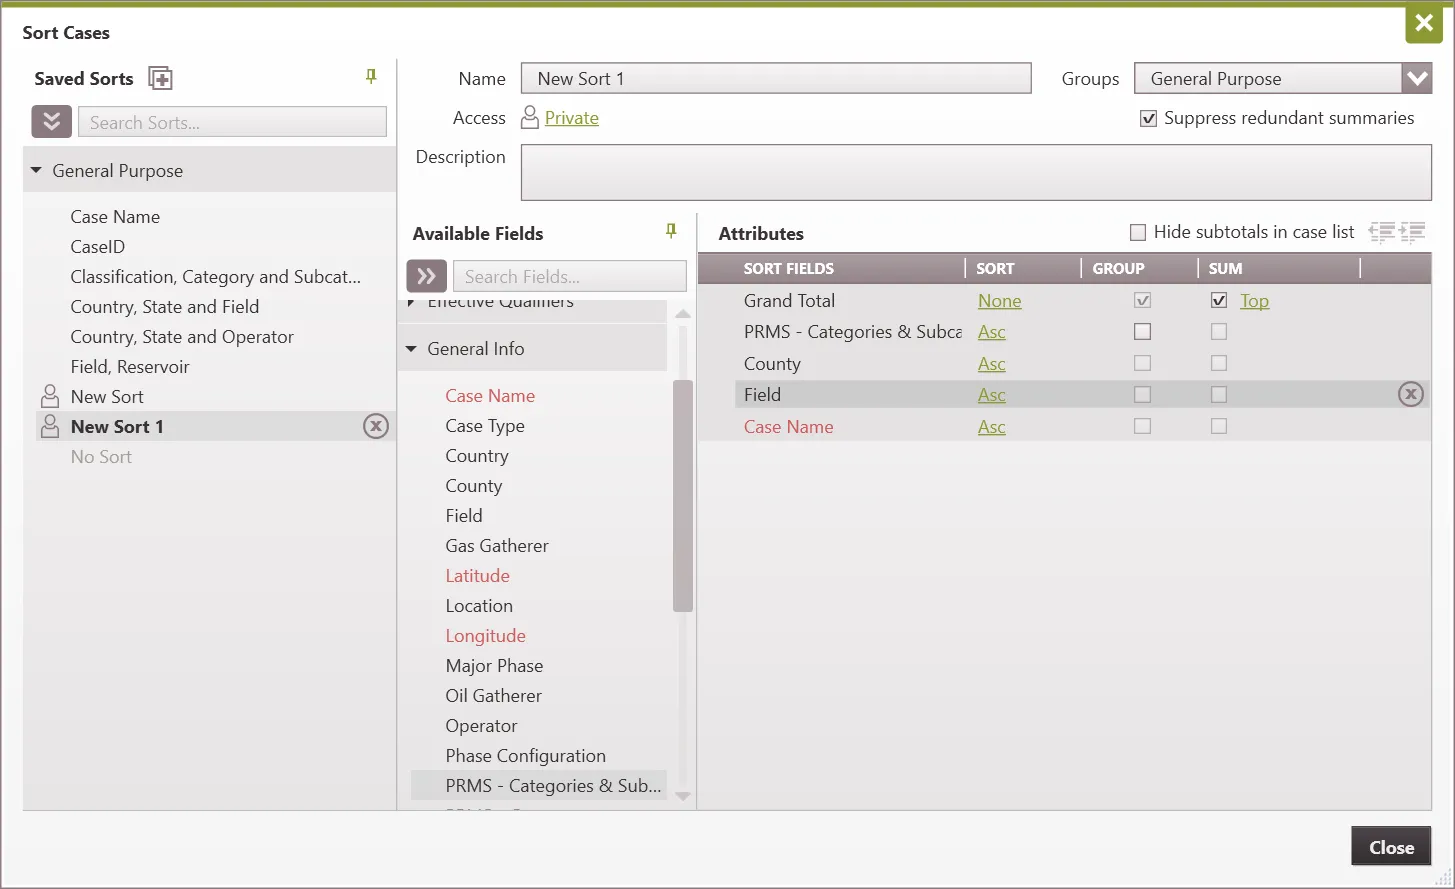
4.Select which fields to sort by – and add those fields by dragging them from the Available Fields section on the left to the Attributes section on the right, as shown in the previous image.
5.On the sort column, specify if how each sort field is to be displayed. Asc (Ascending) or Dsc (Descending) order.
6.If needed, check the boxes next to Group or Sum by the chosen sort fields:
•Group – group cases together on the case list and get a count of how many cases are in that group. They will be broken up and users can also expand or collapse the group.
•Sum – for any group set up, choose whether or not to generate a summary page for the groups when running reports.
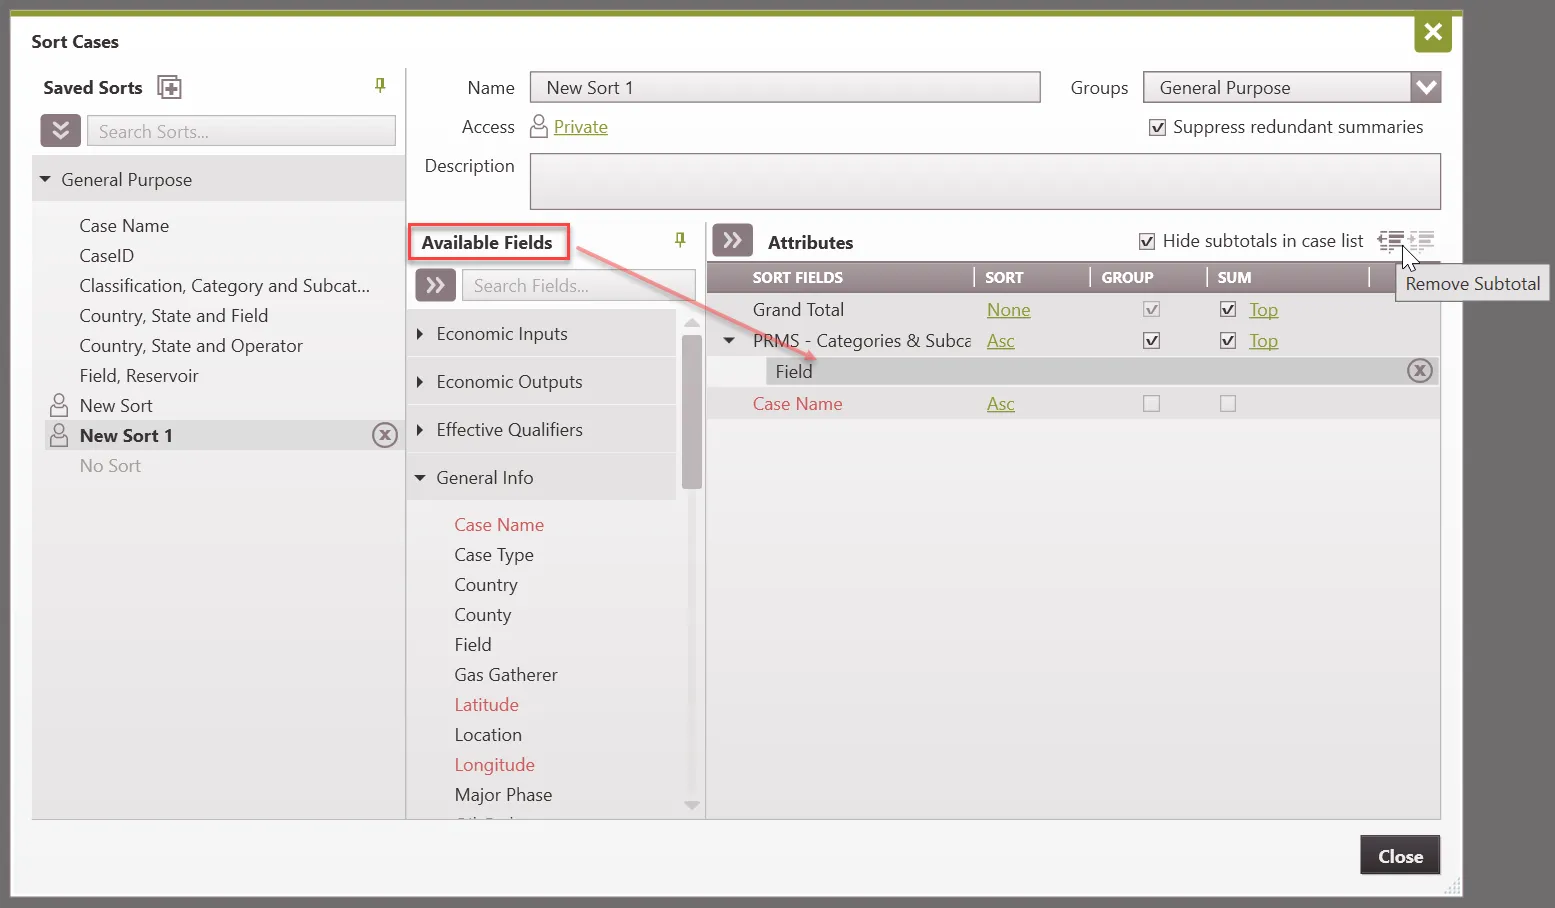
7.Add sub-totals, this allows users to sort cases within a common field based on a chosen sorting field.
8.To add sub-totals, drag the field below one of the groupings created and click the right indentation arrow – ![]() . It should now be offset from the field above it. This can also be done by dragging and dropping the attribute directly on top of the sorting field and it will become a sub-total of that field. To remove the sub-total click on the offset field and either drag it to be in line with the other fields or click the left indentation arrow. An example is shown below.
. It should now be offset from the field above it. This can also be done by dragging and dropping the attribute directly on top of the sorting field and it will become a sub-total of that field. To remove the sub-total click on the offset field and either drag it to be in line with the other fields or click the left indentation arrow. An example is shown below.
9.Click Close to save your changes. On exit, the new sort order is applied to the case list.
This is what the sub-total will look like once it is offset.
To change the current sort or turn off the sort
1.Go to the Home Ribbon on the Case List section.
2.Change the Sort drop-down to No Sort or choose any other sort order listed. No Sort will automatically sort the cases by Case ID.
To copy, edit or delete the current sort order
To copy an existing sort order
1.Go to the Home Ribbon on the Case List section.
2.Click on the ![]() button next to Sorts. This brings up the sort window.
button next to Sorts. This brings up the sort window.
3.Highlight the sort on the left to copy it.
4.Click on the ![]() buttons at the top and choose the one labeled Copy Selected Sort. This copies the selected sort. Modify it as appropriate, rename it, and close to save changes.
buttons at the top and choose the one labeled Copy Selected Sort. This copies the selected sort. Modify it as appropriate, rename it, and close to save changes.
To edit the current sort order
1.Go to the Home Ribbon on the Case List section.
2.Click on the ![]() button next to Sorts. This brings up the sort window.
button next to Sorts. This brings up the sort window.
3.Click on the sort order to edit and make any changes by adding or deleting sort fields. Close the sort window to save changes.
To delete a sort order
1.Go to the Home Ribbon on the Case List section.
2.Click on the ![]() button next to Sorts. This brings up the sort window.
button next to Sorts. This brings up the sort window.
3.Find the list of Saved Sorts to the left – click on the ![]() button next to any sort order to delete it.
button next to any sort order to delete it.